Posts

Debug The App With Chrome

Image
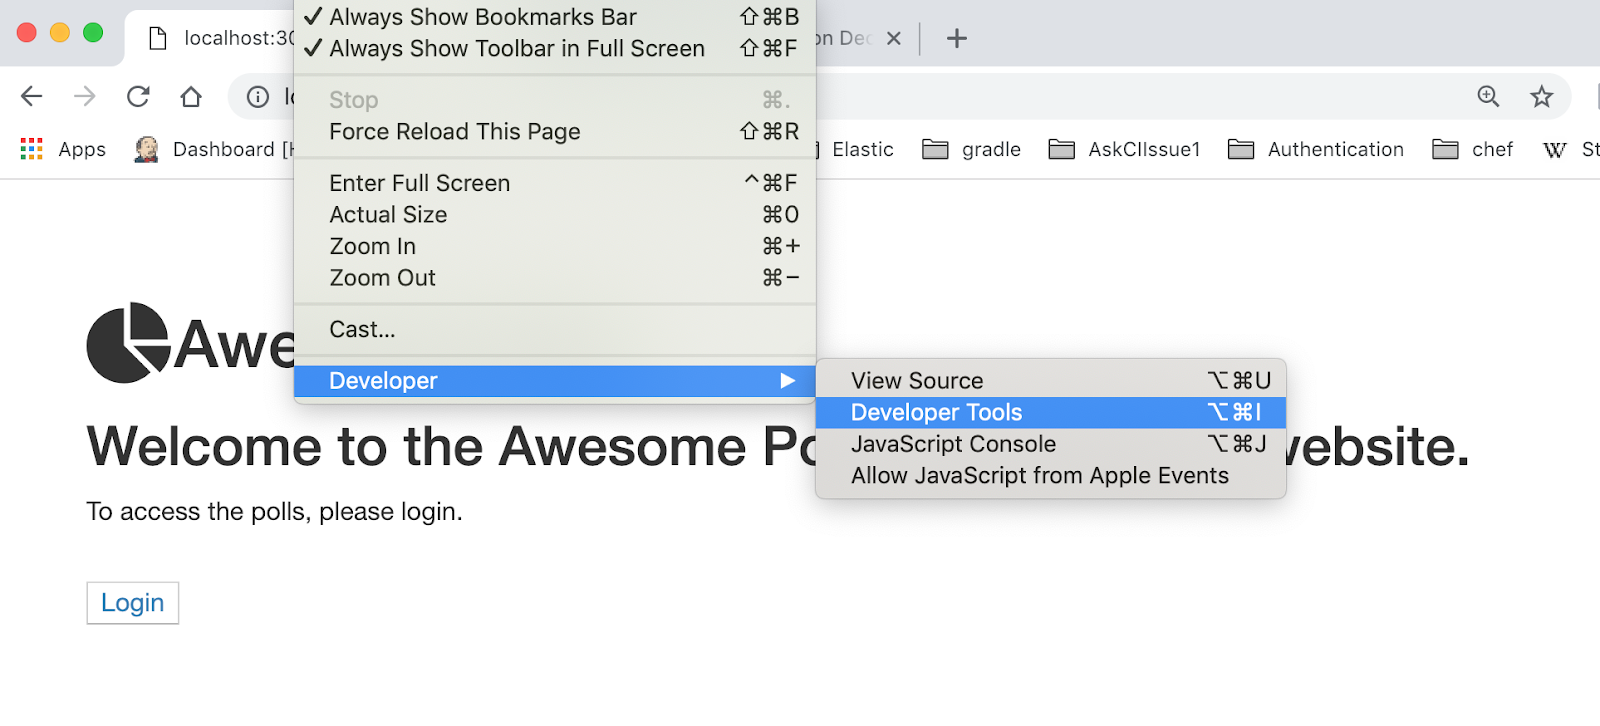
DEBUG THE APP. 1. Enable Chrome Developer Tools. 2. Click Login and see the login page. a. Check the developer tool configuration. 3. The federated login page. Note : The federated login page is injected by lock.min.js 4. Observe the Requests. Note :Observe the client id, it is the same as the Auth0 settings page. 5. On click Auth0Login. The call goes to Auth0 server and client id is passed. 6. Examine Authorize. Note : a. client id. b. response type param is code. c. redirect uri is http://localhost:3000/callback, as we initialized in our code Auth0 page. d. scope is email id, name and picture(Which is not available for me). e. realm username-password-authentication, the grant type basically. f. Explore request headers and response headers.  g. Headers are chosen, instead of other params, for security reasons. h. Note the set-cookie (http secure) under response header. i. The authorization code under response header(7pmf*****cbl) .

RunTheAppDocs

Image
Steps: 1. Checkout  code . Note :  a. I have made some fixes, for the evolving vulnerabilities and updated the reason in ReadMe.md file. b. Lock v11 uses OIDC conformant APIs that are more secure, and some of the coding patterns with Lock v9 need to be changed, as explained . 2. Create credentials in auth0. 3. Set the credentials in .env file. 4. install (npm install). Note : Ignore the 2 audit log errors. 5. Run (node app). a. monitor the console. <--Previous   Next-->

RunTheApp

Image
Run The App. Federated Auth(orization) Steps 1. Checkout code . 2. Create credentials in auth0. 3. Set the credentials in .env file 4. install (npm install). 5. Run (node app). Don't worry in the next page, i included some screenshots for help. References : https://auth0.com/blog/building-and-authenticating-nodejs-apps/ <--Previous   Next-->

oAuth2-Roles

Image
Just The Basics Just The Basics-Image From Medium.com Resource Server  The resource server can be considered as a web server which would host a collection of resources and protect them using OAuth2 protocol. Resource Owner The resource owner would be the user who owns the resources hosted on the resource server. Client This would the client application which would provide access to the resources hosted on the resource server on behalf of the resource owner with authorization. Authorization Server  The authorization server would issue access tokens to the client after successfully authenticating the resource owner and obtaining authorization. In some scenarios, resource server would also act as the authorization server. References : https://medium.com/scalable/an-oauth2-grant-selection-decision-tree-for-securing-rest-apis-d63b5c0c8900 <--Previous   Next-->

oAuth2-AuthorizationCodeGrant

Image
oAuth2-Authorization Code Grant. What we will do, 1. Implement the above functionality in node js. 2. Wire an auth provider. In Brief, 1. oAuth2 is a protocol defined for inter-operable authorization grant mechanisms. 2. It identifies 4 broad scenarios and a suitable grant mechanism for each. 3. Based on inter-operable grant mechanism many Auth providers provide the functionality as service. 4. Auth0 is one such provider. Resources : https://medium.com/scalable/an-oauth2-grant-selection-decision-tree-for-securing-rest-apis-d63b5c0c8900 <--Previous   Next-->

AgendaAndAudience

Image
This is what we will be doing in the next 4 posts. i will include this diagram more than once. O-Auth2-Authorization Code Grant The below series of posts is useful for, Micro-services Developers. Dev/Sys Specialists. towards, How oAuth2 Grant Selection works by example. How Auth providers make things easy. It is NOT, a guide book of oAuth2. about grant selection. Some Pre-requisites before you jump in, Basic node js. Basic web development. The first series of posts are about oAuth2, Let's get started. Next-->